How to Disable WordPress Plugins (3 Effective Methods)

In this tutorial, we’re exploring three different methods to disable a WordPress plugin.
Whether you’re troubleshooting an issue or simply want to deactivate a plugin temporarily, these methods offer a solution for every skill level.
Method 1: From the Dashboard

This is the simplest method for beginners.
- Navigate to Plugins: In your WordPress dashboard, go to the ‘Plugins’ section in the left sidebar.
- Deactivate the Plugin: Find the plugin you wish to deactivate and click the ‘Deactivate’ button.
- Reactivation or Deletion: The plugin will be deactivated immediately. You can reactivate it or delete it entirely from your site whenever you want.
Method 2: Disable Plugins Via FTP
Why: Easy way to make changes without accessing the database
Disabling a Specific Plugin
Step 1: Accessing the Root Directory

- Log in to Your Hosting Account or connect via an FTP client.
- Navigate to the Root Directory where WordPress is installed.
Step 2: Finding the Plugins Folder

- Locate the ‘wp-content’ Folder and open it.
- Inside ‘wp-content’, Find the ‘plugins’ Folder. This folder contains all the plugins installed on your WordPress site.
Step 3: Disabling a Plugin (Example: Contact Form 7)

- Right-click on the contact-form-7 Folder (or any other plugin you wish to disable).
- Rename the Folder. Add a suffix like “-disabled”. This action deactivates the plugin.
Step 4: Confirming the Plugin Deactivation
- Refresh Your WordPress Site. You’ll notice that the Contact Form 7 menu is gone, confirming its deactivation.
- In the ‘Plugins’ Section, you will see a message stating that Contact Form 7 has been deactivated because the plugin file does not exist (due to renaming).
Reactivating a Plugin
- Remove the Suffix you added to the plugin folder.
- Save the Changes and refresh your WordPress site.
- Reactivate the Plugin from the WordPress admin panel. The plugin should be functional again.
Disabling All Plugins
- Navigate to the ‘wp-content’ Folder.
- Right-click on the ‘plugins’ Folder and rename it (add a suffix like “-blocked”).
- Refresh Your Site. All plugins will be deactivated, as indicated by error messages.
Reactivating All Plugins
- Rename the ‘plugins’ Folder back to its original name by removing the suffix.
- Refresh Your WordPress Site. All plugins will appear as available.
- Activate the Plugins either individually or all at once through the WordPress admin panel.
Method 3: Disable Plugins Directly From Your Database
Why: This is particularly useful when you can’t access your site due to an error.
Reminder: Remember, it’s always wise to back up your website before making any changes.
Note: This method is more advanced and involves accessing your site’s database.
Step 1: Accessing Your WordPress Database
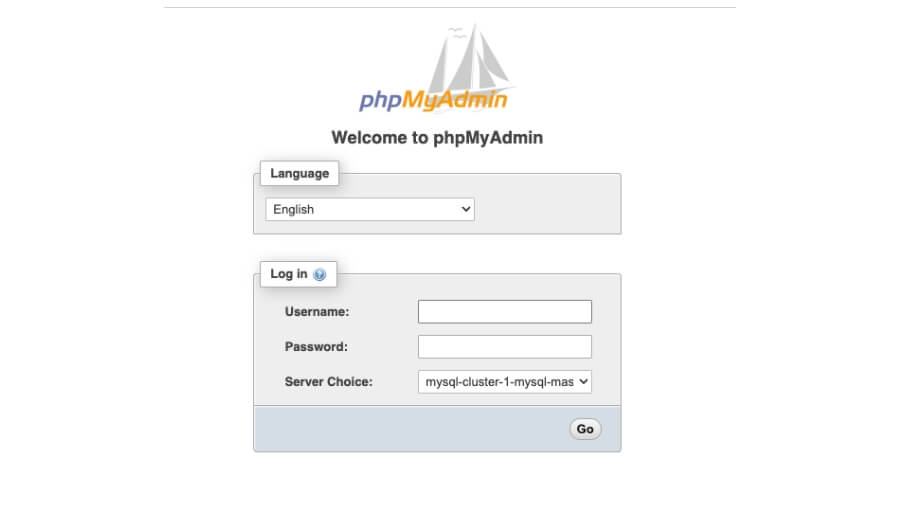
First, we’ll access your WordPress database using PHPMyAdmin. The access method varies with different hosts, but generally, you can find PHPMyAdmin in your cPanel.
Step 2: Navigating to the Plugin Information
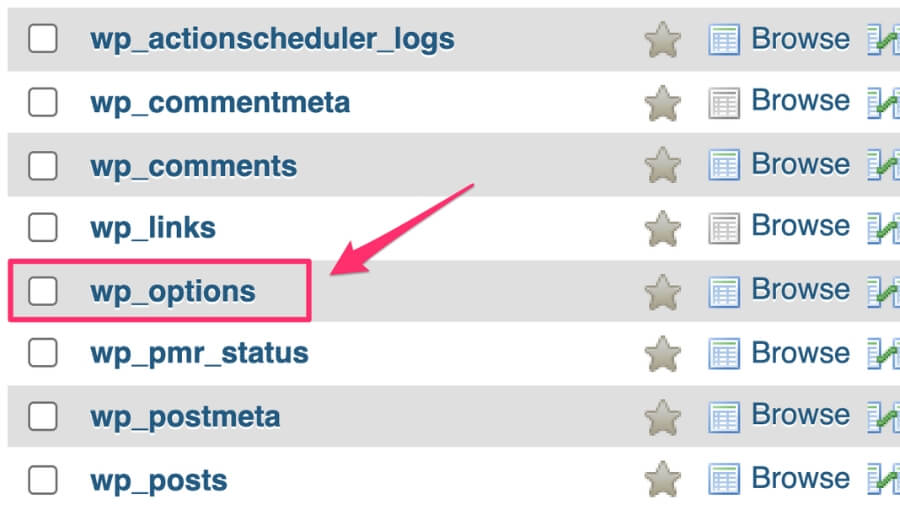
Once in PHPMyAdmin, select your website database from the left sidebar. WordPress stores plugin data in the wp_options table. Click on this table to view its contents.
Step 3: Identifying Active Plugins
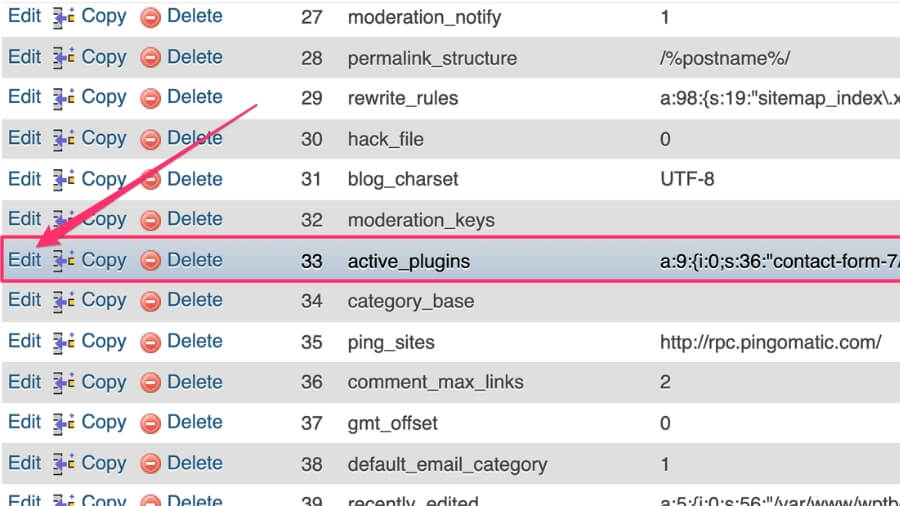
We’re looking for a row named active_plugins under the option_name column. In the corresponding option_value column, you’ll find a serialized string listing all your active plugins.
Step 4: Modifying the Active Plugins Data
Before you change anything, copy the entire string from the option_value field and paste it into a notepad or similar text editor. This is crucial for restoring your plugins later if needed.
Now, we’ll replace this string with a specific snippet that effectively deactivates all plugins. Use this code: a:0:{}. This tells WordPress that there are zero active plugins.

Step 5: Saving Changes
After replacing the string, scroll down and click the ‘Go’ button to save your changes.
Step 6: Checking Your Website
Now, visit your website to see if the problem is resolved. If successful, you should be able to access your dashboard again.
Step 7: Reactivating Plugins Individually
Once you’ve regained access, start reactivating your plugins one by one. If your site breaks after enabling a particular plugin, you’ve identified the culprit causing the issues.
Conclusion
Each of these methods offers a reliable way to disable plugins, from the straightforward dashboard approach to the more technical database and FTP methods.
Choose the one that best suits your comfort level and needs.