Images usage on Gutenberg

We’ve been writing about Gutenberg and how innovative it is to the WordPress ecosystem, so we thought it’s essential to go through its blocks, explaining what you can do with each one.
The chosen block for this week is the image block, the one you should use to place all your images on your posts. We’ll cover all its aspects, the settings you can define, what tricks you can use, and so on.
So, let’s go!
Table of Contents
Image Block
To use the image block, you can click on the + sign on the left side of the text (if you don’t know where it is, you can check our previous post about Gutenberg here), or you can type /image and hit enter. After you do that, you’ll now see a block like the following:

Upload
The upload button allows you to import files (in this case images) to your website, so you can use them on your posts, pages, forms, anywhere you want, as it will be upload to your media (Media > Library).
Let’s create an example by uploading a picture of a few cute pandas to our website. Check it out!

Media Library
The Media Library button allows you to choose one of the images that you already have on your website, that you have uploaded previously.

Insert from URL
The Insert from URL button allows you to add an image from a URL. Note that it should be the URL of the image and not a generic URL of a page that contains the image you want. In this example, we’ll insert an image from our homepage here on our post:

Image resizing
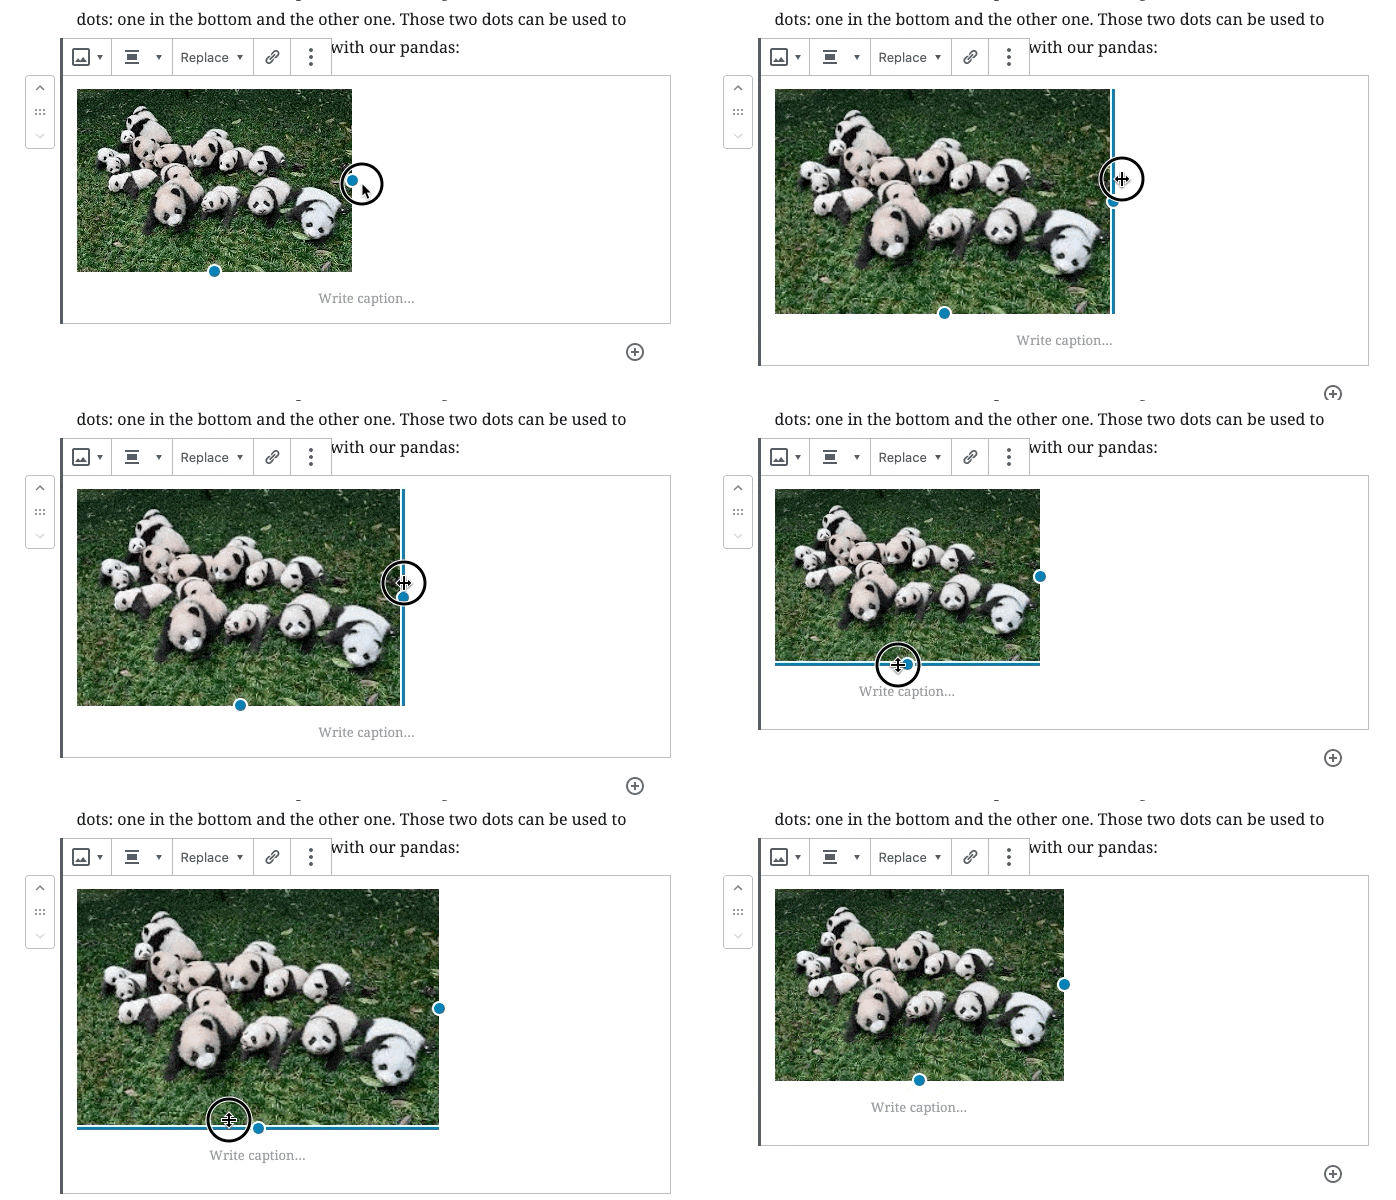
You also saw that there were two blue dots when we added a new image: one in the bottom and the other one. Those two dots can be used to resize your image. Let’s try it out with our pandas:

Yay! Now you can add an image and resize it to any size of your liking! Isn’t it amazing?
Now, let’s take a look at what we can do in the block settings on the right sidebar (if you have no idea about this bar, check out our blog post about it).
Styles

The first section of the blog that we are going to discuss is the styles section. In this part, you can determine if you prefer your image to be the default (squared) or rounded (yeah, you can use rounded images out of the box with Gutenberg).
See two examples below of the pandas with squared and rounded images:
Image Settings

The image settings section concerns all the things related to the image itself, such as its size, dimensions, and alternative text.
Alternative text
The alt attribute is the HTML attribute used in HTML documents to specify alternative text that is to be rendered when the element to which it is applied cannot be rendered. Also, it can be used as an explanation for the image if it needs to be explained.
In fact, there are lots of implications on the use of alt tags; thus we encourage you to check out the documentation, so you can see what you need to do. You can check it here.
Image Size
The image size field is related to the predefined sizes you have on your site. These sizes can be the ones that come by default within your WordPress, or they can be predefined on your theme.
The default for Twenty Twenty are the following:
- Thumbnail
- Medium
- Full Size
Each size has its own dimension.
Image Dimensions
This is the setting that will allow you to set the different heights and widths to your image. Bear in mind that you must make it fit inside your layout, otherwise, it can break the layout and make your page look ugly and uncared.
The input fields allow you to type the dimensions you want, while the percentages below will enable you to define the percentual size of the image based on its original size (if it’s was 1000px x 1000px, if you click on 25%, it’ll become 250px x 250px).
Last but not least, the Reset button resets the image site to the original size.
Advanced
What does the Advanced tab reserve for us?

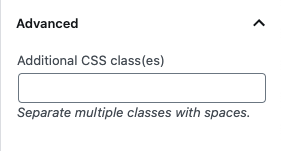
In the Advanced tab, you can add a class (or classes) to your image that your images should use.
But how useful is it? Let’s think about a scenario:
You created your site and you defined that one image should have a blue on it, but it should be applied to specific images only and not all the images on your site. So, you created a class for this kind of image, called my_blurred_image.
Now, you added your pandas’ image and you thought that it would be better to blur this image because you thought it was a nice effect on it. So, what should you do?
Just click on the Advanced tab and add the my_blurred_image class. And that’s it! Your image now has a blur effect on it.
Conclusion
This article cover a general outline of the main aspects of the image block and its options. In case it changes in the future, following this tutorial you still should be able to add images without problems to your site and know how it can be customised.